

Order the Cookbook Today
A 368-page heritage collection of my recipes, stories, family photos and handwritten notes. Your go-to cookbook for years to come!
Most Recent Posts


Hi, I’m Si
My greatest joy comes while spending time with people I love and making meals that create memories. So glad you’re here!
I was born in Japan and live in Salt Lake City with my husband and best friend, Grant.
A Bountiful Kitchen is my full-time business. I also teach classes at Orson Gygi and make regular appearances on KSL Studio5.
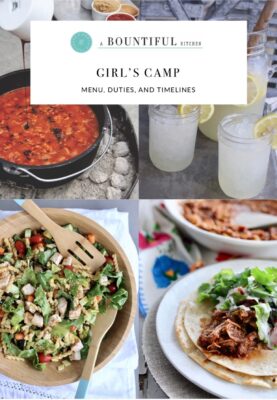
Featured Categories


Get new recipes straight to your inbox:
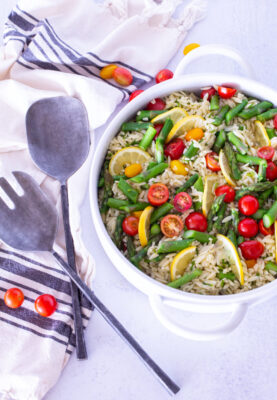
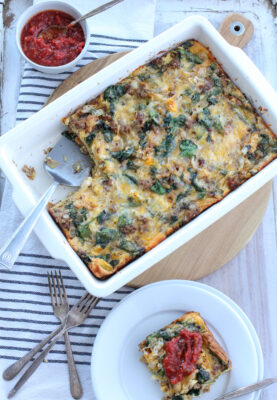
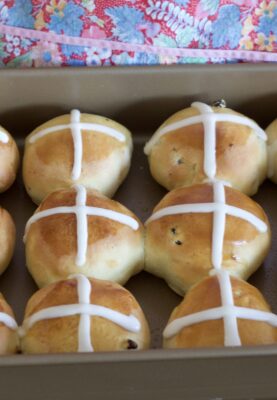
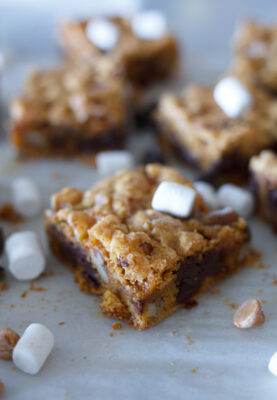
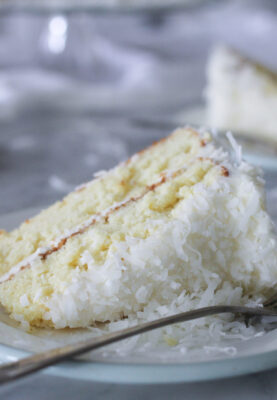
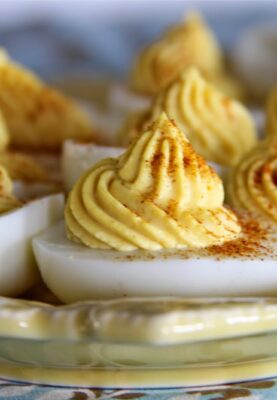
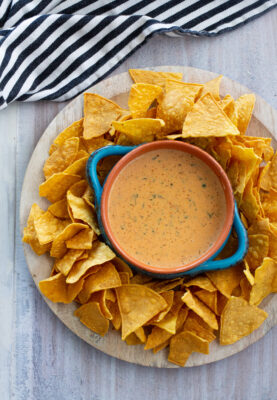
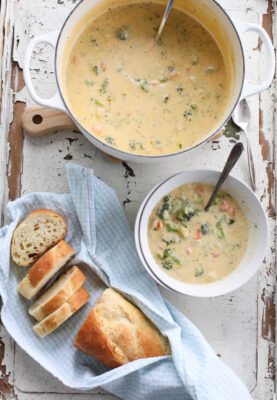
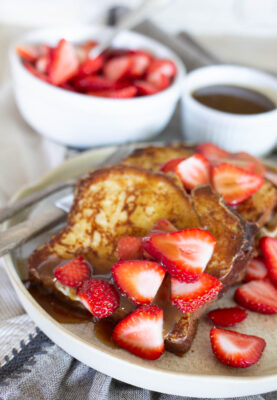
Trending Recipes

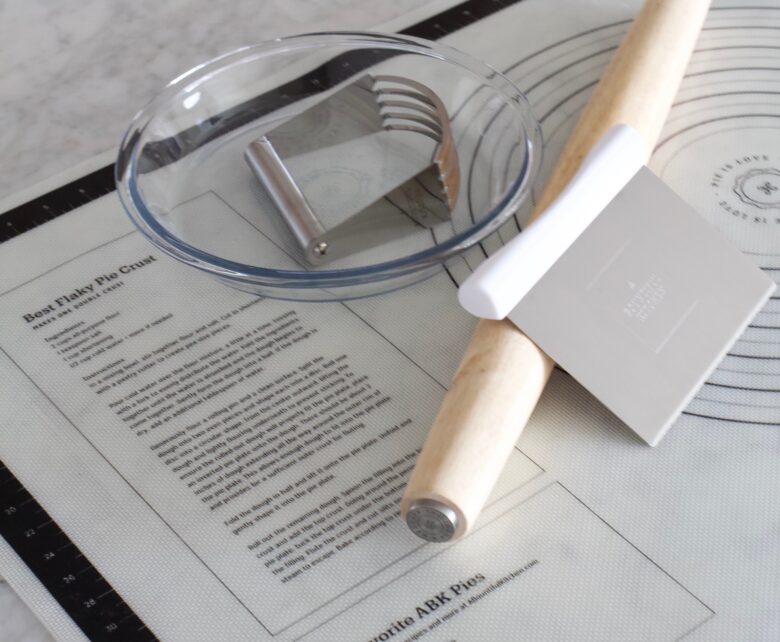
The ABK product line
Come see the ABK product line and make a home for these beautiful tools in your kitchen!
Copycat Recipes

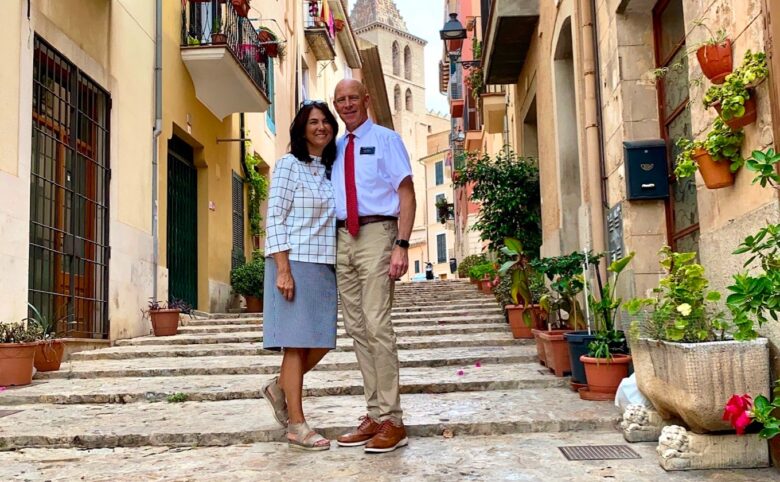
Our Mission
Nothing compares to the opportunity we had to serve the people of Spain as representatives of our Savior Jesus Christ.


 in the comments below🙏🏼
Art 🖼️ @multiplygoodness @paigepayne_creations
Full talk by Elder Stevenson (link in profile)
https://www.churchofjesuschrist.org/study/general-conference/2023/04/11stevenson?lang=eng
#becauseofhim")


